How to Remove a Popcorn Ceiling: A Dallas Homeowner's Guide
Published August 24, 2026
How to remove a popcorn ceiling step by step in Dallas: asbestos testing first, containment, wet scraping, skim coating to a Level 4 or 5 finish, and paint.
Almost every popcorn-removal video online opens with a guy spraying water and scraping. That is the fun 20 percent. It is also the part that goes wrong the least. What nobody shows you is the two steps that actually decide whether you end up with a crisp, flat ceiling or a lumpy mess that flashes every trowel mark under your living room light: the asbestos test before you start, and the skim coat after the popcorn is gone. We have removed popcorn ceilings across Dallas since 1992, from 1960s Lakewood ranches to Preston Hollow estates, and the honest rule we work from is this. The scraping is DIY-friendly on a clean, tested ceiling. The finish is a drywall-taping skill, and the pre-1980 asbestos question is a hard stop, not a suggestion. This guide walks the whole sequence and tells you exactly where a careful homeowner should hand it off.
Do you need to test a popcorn ceiling for asbestos before removing it?
Yes, if your Dallas home was built before 1980 and the ceiling has never been tested. Textured "acoustic" ceilings sprayed before 1977 frequently used chrysotile asbestos, and leftover stock kept getting sprayed into the early 1980s. You cannot tell by looking. The only reliable answer is a lab test on a physical sample, so testing is step one, before a single drop of water hits the ceiling.
This is not a formality you can skip to save a weekend. Intact popcorn texture sitting on your ceiling is generally not a hazard. It becomes one the moment you wet it and scrape it, because that is exactly what sends microscopic fibers into the air your family breathes.
Dallas fact: So much of our housing stock, the craftsman bungalows in Bishop Arts and Kessler Park and the brick ranches across Lake Highlands and Oak Cliff, dates to the 1950s through 1970s, which puts a large share of original ceilings squarely in the test-first window.
If your home postdates the late 1980s, or you have renovation records showing the ceiling was already remediated, you can skip the test and go straight to the cosmetic conversation. A 2015 Plano build does not need a test, and we will tell you that on the phone rather than sell you one. If you are still unsure whether you even have a risk, our companion guide on how to tell if your popcorn ceiling has asbestos walks the age windows and the lab process in detail. Start there, then come back here for the removal.
How to remove a popcorn ceiling, step by step
Once the lab comes back clean, removal is a wet-scrape-and-refinish job. Here is the full sequence we run on a Dallas ceiling, from the empty room to the last coat of ceiling paint, so you know what you are signing up for before you rent a scraper.
- Clear and seal the room. Everything out or center-piled and covered. Then plastic the walls floor to ceiling, mask the tops of the walls, and lay heavy poly over the floor with a taped seam up the baseboard. Wet popcorn slurry gets everywhere, and cleanup is half the battle if you skip this.
- Kill the power and protect fixtures. Turn off the circuit for the room at the breaker. Drop or bag ceiling fixtures and cover any recessed cans. You are about to spray water at the ceiling, so anything electrical gets isolated first.
- Test-spray a small patch. Mist a two-foot square with warm water, wait about 15 minutes, and try to scrape. If it lifts in wet sheets, the texture was never painted and the whole ceiling will come off easily. If water beads and it fights you, the popcorn was painted over, which changes the job (more on that below).
- Wet in sections and scrape. Work a four-by-four-foot area at a time. Mist it evenly, let it soak 10 to 15 minutes, then run a wide drywall knife or a dedicated popcorn scraper at a low angle. Overlap your passes. Rewet stubborn spots instead of forcing them.
- Skim, sand, and finish. Once bare, the drywall underneath is never smooth enough to paint. It has scrape marks, exposed joint tape, and old texture nubs. This is the skim-coat stage, and it is the real work. We build it to a Level 4 or Level 5 finish depending on your lighting.
- Prime and paint. A high-build sealing primer over the fresh skim, then two coats of a proper ceiling paint.
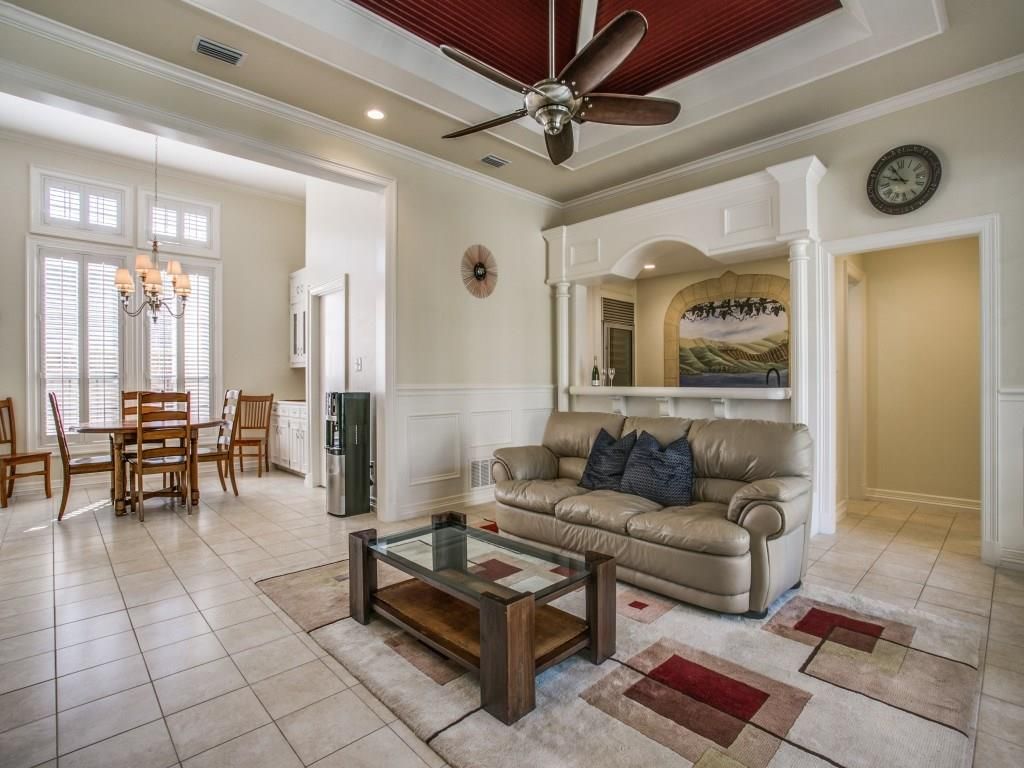
The step that surprises people is how much of the timeline lives in steps 5 and 6, not step 4. Scraping a bedroom can be a single day. Getting it flat and painted well runs another two to three, with dry time between coats.
Wet scraping popcorn ceiling technique: the details that decide the result
The technique itself is simple, and the details are everything. Mist warm water evenly with a pump or garden sprayer until the texture darkens but is not dripping, wait 10 to 15 minutes so the water penetrates to the substrate, and scrape at a shallow angle with a wide blade so you shave the texture without gouging the drywall paper underneath. Rushing the soak is the number one mistake.
"After 40-plus years scraping ceilings in Dallas, the tell of a rushed DIY job is always the same: dry-scraped gouges in the drywall face-paper because someone got impatient with the soak. Wet it, walk away, come back. The water does the work."
A few working rules that separate a clean scrape from a torn ceiling:
- Round the corners of your scraper blade or run painter's tape on the tips so the sharp edges do not dig crescents into the drywall.
- Do not over-wet. Soaking the drywall past the texture softens the paper face and lets you tear it. You want the popcorn wet, not the board.
- Keep a mud pan under your pass to catch slurry so it lands in the pan, not on your head and the floor.
- Watch for the painted-ceiling problem. If a previous owner painted over the popcorn, water will not penetrate, and the job shifts from scraping to a much harder chemical or skim-over approach. That is a common point where a DIY plan should become a phone call.
Working through the timing on your own ceiling? Call (214) 352-9031 and we will walk through what your specific ceiling involves before anyone schedules a scraper.
When this is NOT a DIY job
Here is the section most removal guides leave out because it might talk you out of the project. Stop and call a pro if any of these describe your ceiling. If the home predates 1980 and the ceiling tests positive for asbestos, this is not a DIY project at all. It is not even a standard paint-contractor project. It has to be handled under containment by the appropriate licensed protocol, and no amount of caution makes home dry-scraping safe. If your popcorn was painted over, the wet-scrape method largely stops working and you are into skim-over territory that reads as amateur unless it is done right. And if you cannot tell whether your ceiling is drywall or plaster, stop, because plaster behaves completely differently under water and scraping and is easy to wreck. When any of those is true, that is the point to hand it off rather than turn a cosmetic upgrade into a health problem or an expensive repair.
Skim coat and finish the ceiling after popcorn removal
The skim coat is where a professional ceiling and a DIY ceiling part ways. Bare drywall after scraping has old joint tape showing, scraper marks, and uneven suction, so a thin coat of joint compound is troweled over the entire surface to fill every low spot and hide every seam, then sanded flat. Skip it or rush it and the ceiling looks worse than the popcorn did, because a flat white ceiling hides nothing.
Why this matters more on ceilings: Ceilings catch raking light from windows and fixtures all day, which throws every ridge and dip into shadow. A wall can hide a mediocre skim. A ceiling cannot.
How far you take the finish depends on your light, and there are two honest tiers:
- Level 4 is a standard smooth finish, appropriate for ceilings under softer, diffuse light. It is the common choice and looks clean in most rooms.
- Level 5 is a full skim coat over the entire surface, the flawless standard we use where a ceiling sits under bright or raking light, big windows, dramatic fixtures, or the low-angle sun common in open Dallas floor plans. There is nowhere for a defect to hide, so we take it all the way.
We finish with a high-build sealing primer such as Zinsser BullsEye 1-2-3 or Sherwin-Williams ProBlock to lock down the fresh compound and even out suction, then two coats of a true ceiling paint like Benjamin Moore Waterborne Ceiling White or Sherwin-Williams Ceiling Bright White, which are formulated dead flat to hide imperfection rather than highlight it. We inspect the whole ceiling under raking light before we call it done. If it disappears under raking light, it disappears in your living room. Want the finish handled start to finish? Get a free written estimate and we will assess the ceiling, the substrate, and the light before quoting.
What popcorn ceiling removal costs and how long it takes
Most Dallas homeowners ask about price and timeline first, which is fair, and the honest answer is that the finish level and the test result drive both. A confirmed asbestos-free bedroom is a straightforward wet-scrape, skim, prime, and paint priced by square footage and ceiling height, and a single room commonly runs two to four working days once you account for skim-coat dry time between passes. A ceiling that tests positive for asbestos is a different scope entirely, handled under containment, and we will not quote that blind over the phone.
The scraping is a day. The flawless finish is the rest of the week. Anyone quoting a whole-house popcorn removal as a one-day job is quoting the scrape and skipping the part that actually shows.
That is the real reason we assess before we quote. Ceiling height, whether the popcorn was painted over, the substrate, and whether you want Level 4 or Level 5 all move the number, and a pre-1980 ceiling needs its lab result first. What you get from us either way is a detailed written estimate after the walkthrough, premium products on the finish coat, our 5.0-star Google rating across more than 90 reviews behind the work, and our 3-year guarantee. Ready to modernize a dated ceiling? Reach our team for professional popcorn ceiling removal in Dallas, or see our full range of residential interior painting services across the metroplex.
Frequently Asked Questions
How long does it take to remove a popcorn ceiling?
For a confirmed asbestos-free ceiling, scraping a single room is often a single day, but the whole job commonly runs two to four working days once you include the skim coat, sanding, primer, and two coats of ceiling paint with dry time between each. The scraping is the fast part. The flat, flawless finish is where most of the timeline lives, which is why anyone quoting a whole-house popcorn removal as a one-day job is quoting the scrape and skipping the part that actually shows. A ceiling that was painted over, or that needs a full Level 5 skim under bright light, takes longer.
Do I have to test a popcorn ceiling for asbestos before removing it?
If your Dallas home was built before 1980 and the ceiling has never been tested, yes, and it is a hard stop, not a suggestion. Textured ceilings sprayed before 1977 frequently used asbestos, and leftover stock was sprayed into the early 1980s, so you cannot rule it out by age alone or by looking. The only reliable answer is a lab test on a physical sample, and it must happen before any water or scraping, because wetting and scraping intact texture is exactly what releases fibers. Homes built after the late 1980s, or ceilings with records showing prior remediation, do not need a test.
What is the right wet scraping technique for a popcorn ceiling?
Mist the ceiling evenly with warm water using a pump or garden sprayer until the texture darkens but is not dripping, then wait 10 to 15 minutes so the water penetrates to the substrate before you scrape. Run a wide drywall knife or a dedicated popcorn scraper at a shallow angle so you shave the texture without gouging the drywall paper underneath, and round or tape the corners of the blade so the sharp edges do not dig crescents into the board. Work in four-by-four-foot sections, rewet stubborn spots rather than forcing them, and hold a mud pan under your pass to catch slurry. If water beads instead of soaking in, the popcorn was painted over and the wet method largely stops working.
Do you have to skim coat a ceiling after removing popcorn?
Almost always, yes. The bare drywall left after scraping has old joint tape showing, scraper marks, and uneven suction, so a thin skim coat of joint compound is troweled over the entire surface, sanded flat, then primed and painted. Ceilings catch raking light from windows and fixtures all day, which throws every ridge and dip into shadow, so a flat white ceiling hides nothing and the finish quality shows more than it would on a wall. A Level 4 finish suits ceilings under softer light, while a full Level 5 skim is the flawless standard for ceilings under bright or raking light.
Can I remove a popcorn ceiling myself?
On a tested, asbestos-free, unpainted ceiling, a careful homeowner can handle the wet-scrape stage. The two places DIY jobs go wrong are the pre-1980 asbestos question, which is a hard stop that requires a lab test first and licensed containment if positive, and the skim-coat finish, which is a drywall-taping skill that shows badly on a ceiling if rushed. Also stop if your popcorn was painted over, since the wet method stops working, or if you cannot tell whether the surface is drywall or plaster, because plaster is easy to wreck under water and scraping. When any of those is true, hand it off rather than turn a cosmetic upgrade into a health problem or a repair.